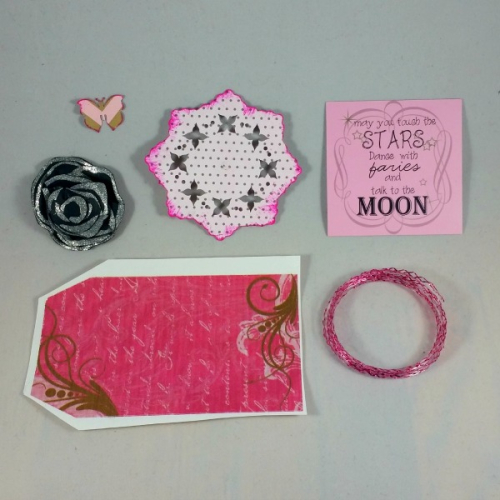
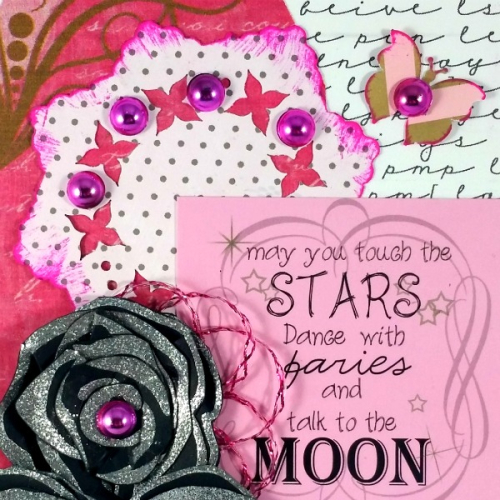
Charity here from Scrappin Chaos with instructions for how to make an easy yet beautiful 3D paper rose. This card also showcases Kreaxions Punch #913 with a bit of flair and plenty of pink! For the doily I used the Kreaxions Circle Cutter to to make a 4 inch circle and the Star Stencil assisted me with marking the points to punch. I also
used Punch #604 for the butterfly to the right of the doily.
used Punch #604 for the butterfly to the right of the doily.
~ Touch The Stars ~
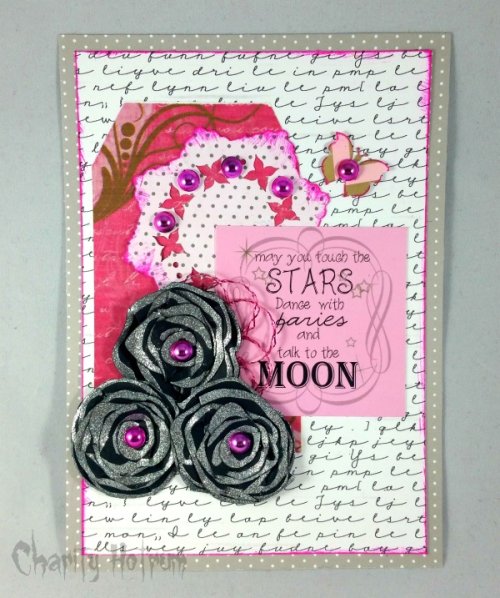
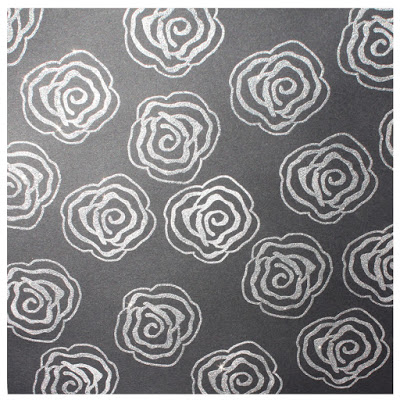
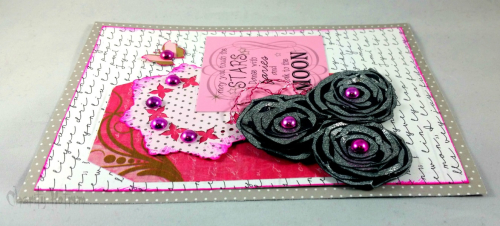
The spiral 3D paper roses were made from a single sheet of cardstock pictured below.
Find it and the other beautiful papers and embellishments used for this card at The Robin’s Nest store.
Find it and the other beautiful papers and embellishments used for this card at The Robin’s Nest store.
Directions:
Step 1) Carefully cut a rose along the silver outer edge.
Step 2) Cut that rose into a spiral, using the silver line as a vague pattern.
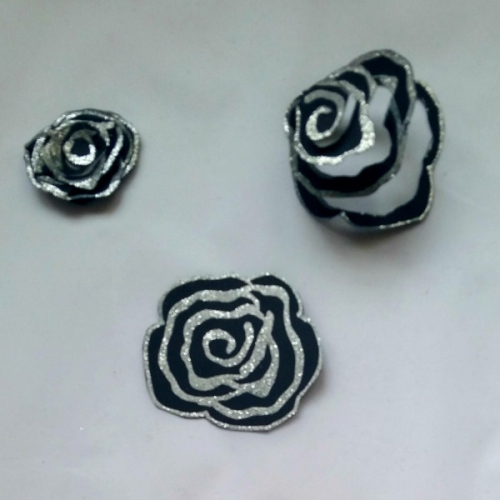
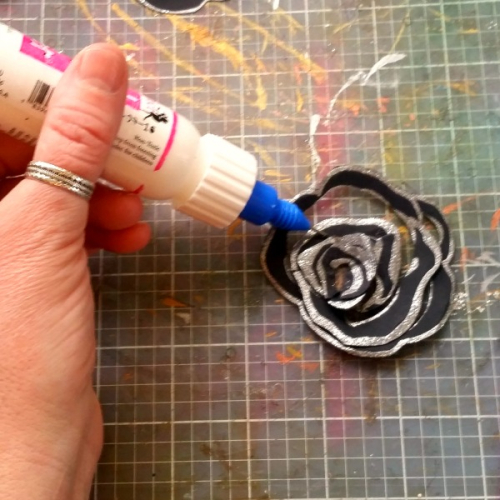
Step 3) Starting at the center, curl and glue the paper into a rounded shape.
Press the glued surfaces together until the adhesive bonds before moving onto the next portion.
ScraPerfect provides the exact adhesive needed for this project. The Best Glue Ever is the just-right bonding strength and the large No-Clog Writing Cap allows you to place a single dot of glue at strategic points.
Here is a quick peek at all the design elements I used for this card.
In the US Kreaxions product are available from Just Imagine Crafts.
This card has a 5×7″ cardstock base with a 4.5″ x 6.5″ layer over the top.
Check my blog Scrappin’ Chaos for a list of supplies.
Scrap On!
~charity~
Laura Cox
So pretty….love the roses!